

goldshellminer > User guides > Instruction for Removing and Installing BOX Series Control Board
Instruction for Removing and Installing BOX Series Control Board
Note:
1. Disassembling the miner without permission from the after-sales staff will void your warranty (check my warranty). Check Goldshell after-sales terms to learn more.
2. Ensure that the installation is done correctly before restarting the miner.
3. Incorrect installation may void your warranty.
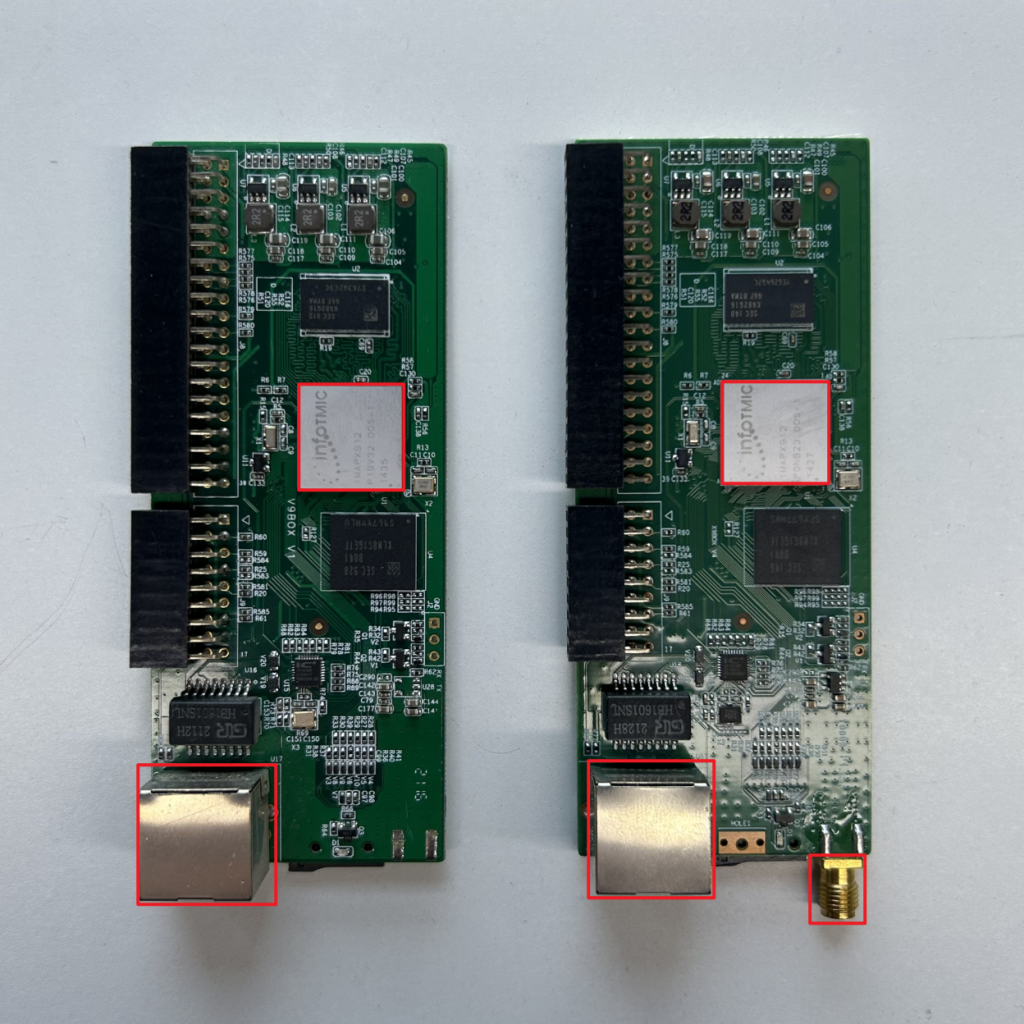
Before installing a new control board, please inspect it to make sure it is in good condition.
1. Removing the Main Control Board
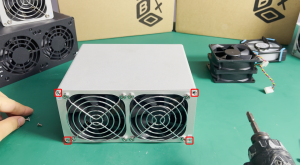
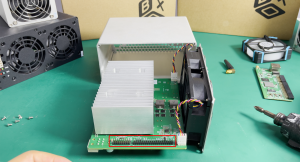
1.1 Uncover the miner.
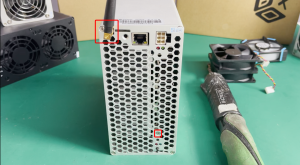
For the WIFI version, please remove the black antenna before proceeding.
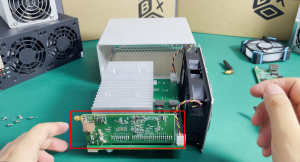
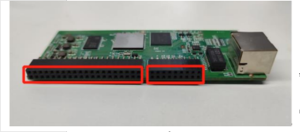
1.2 Carefully remove the hash board to avoid any damage. The control board is located inside the red box as shown in the figure.
1.3 Remove the control board vertically, being careful not to bend the pins beneath it.
2. Install the Control Board
2.1 Align the header of the control board with the pins and insert it downward. Ensure the pins are aligned and not bent before inserting. Do not use excessive force. If the pins are bent, straighten them before trying to insert again.
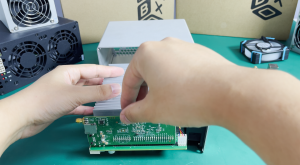
2.2 Install the Hash Board
Place the hash board inside the box, aligning its edge with the internal groove.
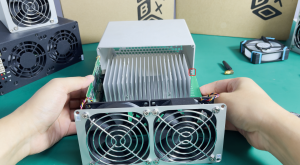
2.3 Align the IP button and the Wi-Fi module with the air outlet baffle.
2.4 Secure the hash board in place by installing the four screws.
The control board replacement is now complete!
.