

goldshellminer > User guides > Instructions for Removing and Installing the Control board of BOX Ⅲ+
Instructions for Removing and Installing the Control Board of BOX Ⅲ+
Note:
1. Disassembling the miner without permission from the after-sales staff will void your warranty (check my warranty). Check Goldshell after-sales terms to learn more.
2. Ensure that the installation is done correctly before restarting the miner.
3. Incorrect installation may void your warranty.
1. Disassembling the Control board
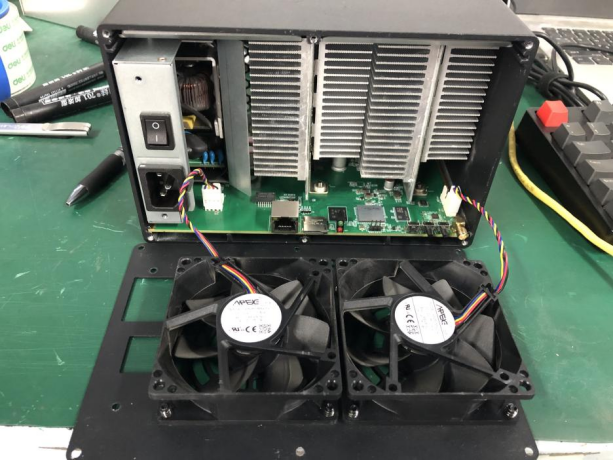
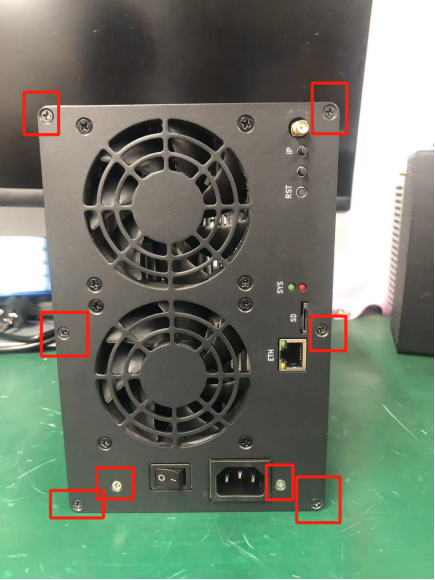
1.1 Remove the screws on the fan surface, paying attention to only remove the outer eight screws (as shown in Figure 1).

1.2 Slowly pull out the fans (as shown in Figure 2). Do not pull the fan forcefully, as this may damage the fan connector cable.
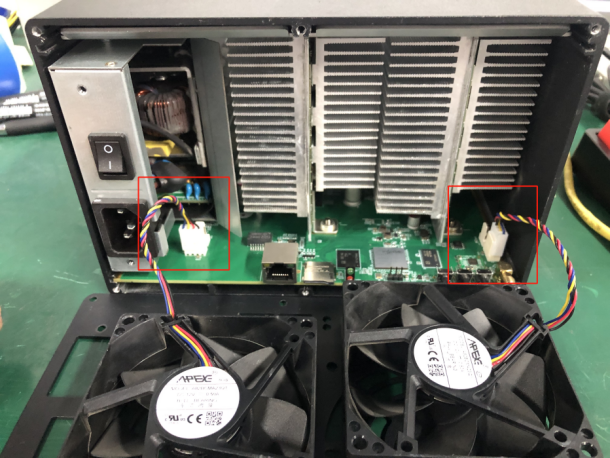
1.3 Unplug the row lines, ensuring to grip the sides of the fan connector with your fingers while pulling.
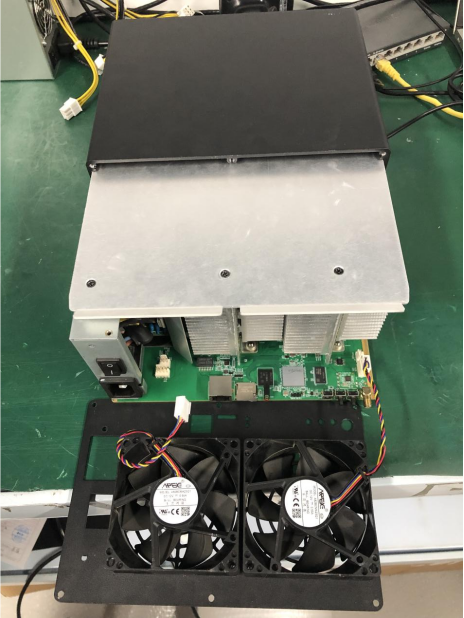
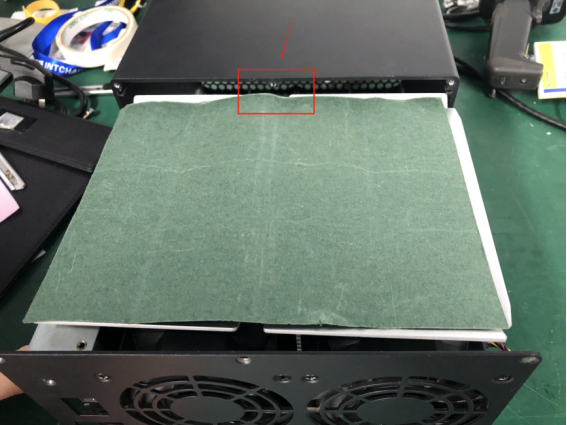
1.4 Slowly pull out the control board, hash board and PSU
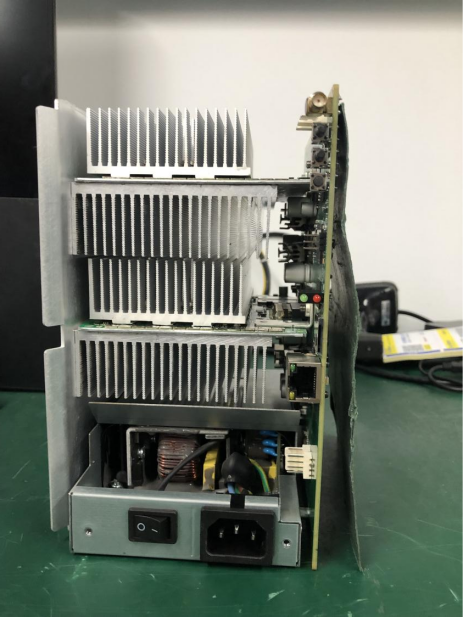
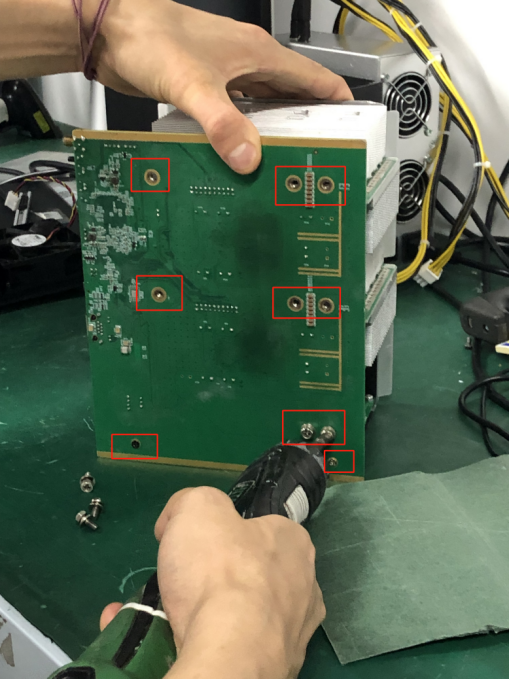
1.5 Remove ten screws connecting the control board to hash board, then remove the control board
2. Install the Control board
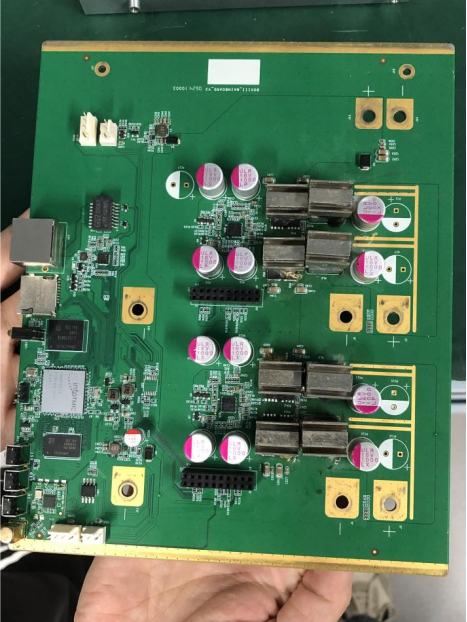
2.1 Align the pins of the control board with the holes on the hashboard and insert it slowly. Ensure the pins are aligned and not bent before inserting. Do not use excessive force.
Do not place the control board face down before all the screws are properly installed to avoid bending any components on the board!!!
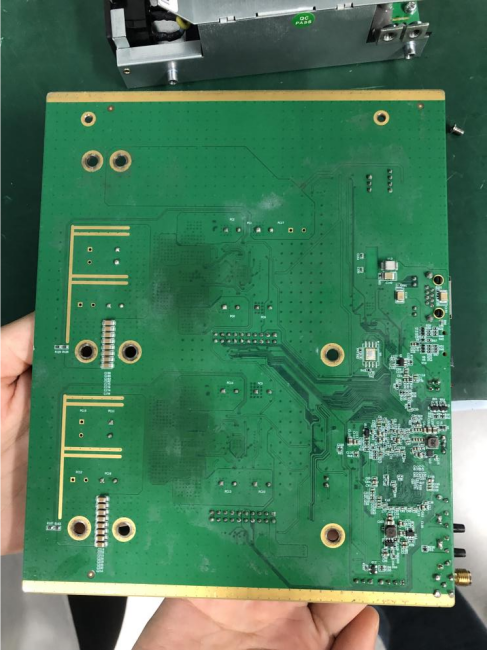
2.2 Align the screw holes on the hashboard with the screw holes on the control board. Secure all the screws.

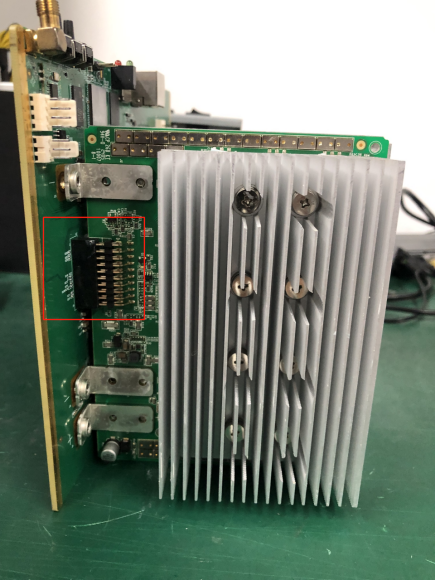
2.3 Plug the fan connector into the control board

2.4 Place the hash board inside the box, aligning its edge with the internal groove. Insulating paper is placed between the baseplate and box to prevent short circuits.
2.5 After securing the screws, the control board is successfully installed.
.
.