

goldshellminer > User guides > Tutorial on Replacing Fan of a Professional Miner
Tutorial on Replacing Fan of a Professional Miner
Note:
1. Disassembling the miner without permission from the after-sales staff will void your warranty (check my warranty). Check Goldshell after-sales terms to learn more.
2. Ensure that the installation is done correctly before restarting the miner.
3. Incorrect installation may void your warranty.
1. Remove the fans from the entire unit.
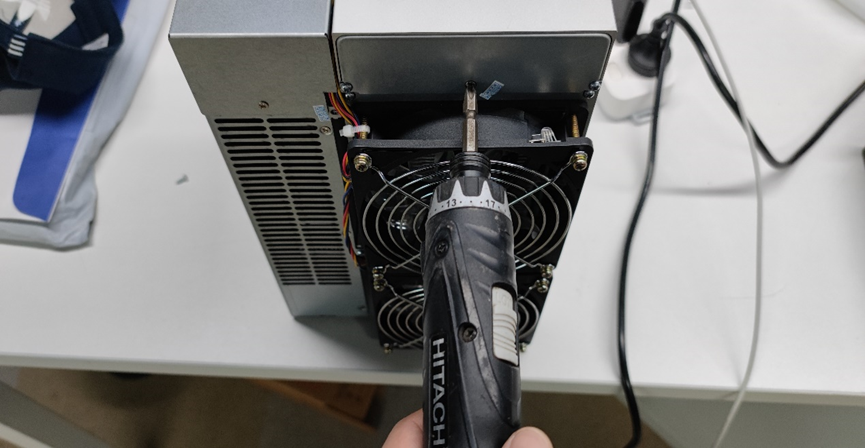
1.1 Remove the screws located above the fans at the back of the miner
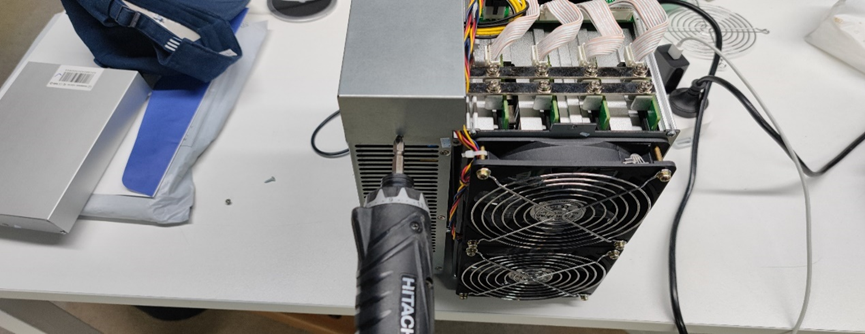
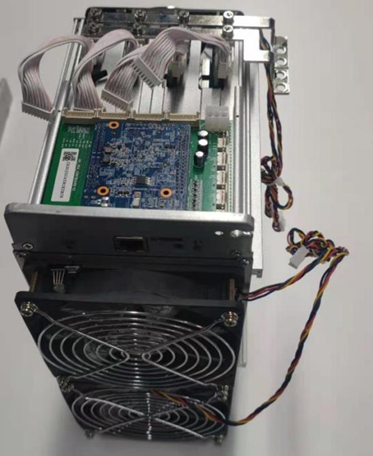
1.2 Remove the top case.

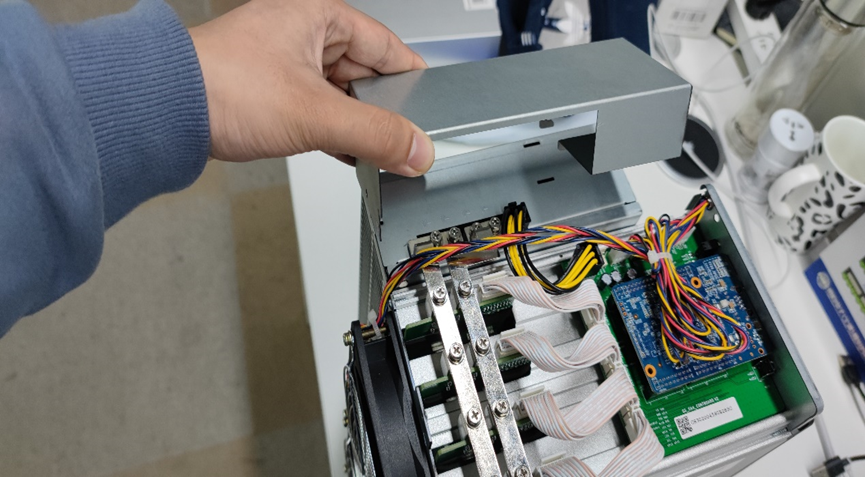
1.3 Unscrew the back of the power supply.
1.4 Remove the cover of the power supply by gently pulling it back and lifting it.
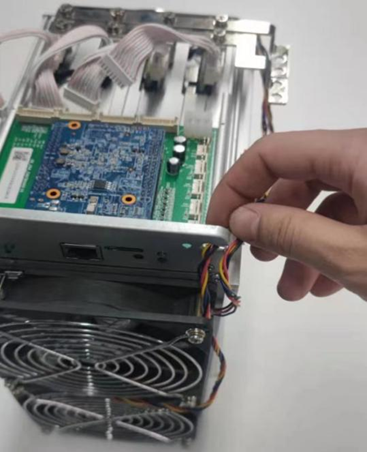
1.5 Disconnect the ribbon cables that connect to the main control board.
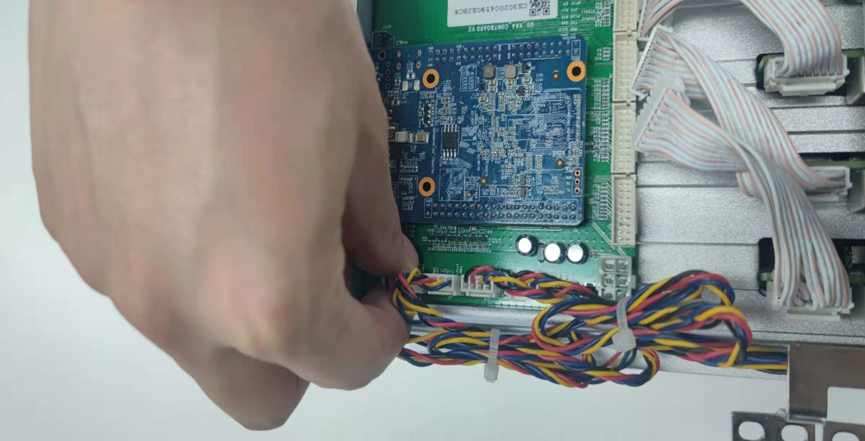
1.6 Take them out of the gap.
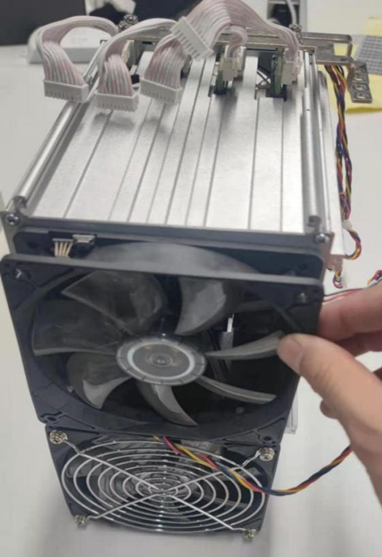
1.7 Unscrew the fans.
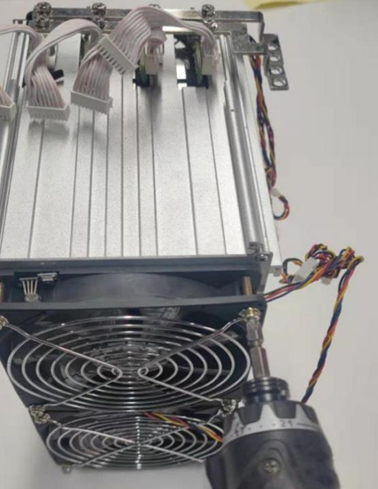
1.8 Remove the fan grille.
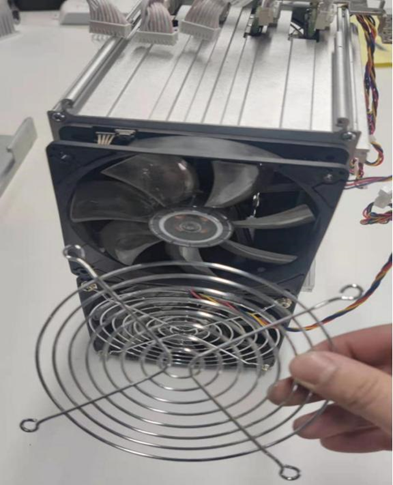
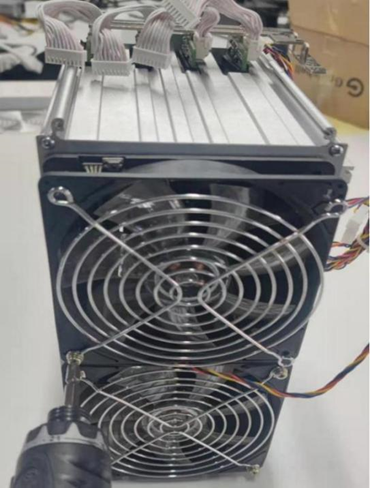
1.9 Remove the fans.
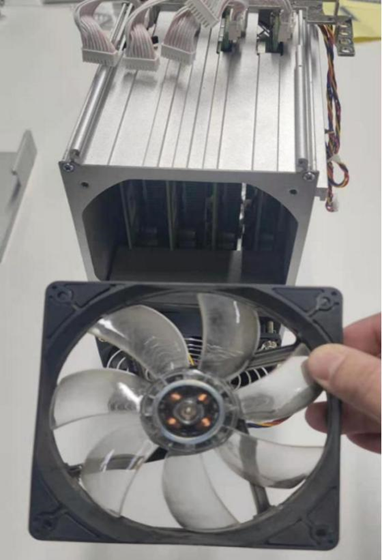
2. Install the fan
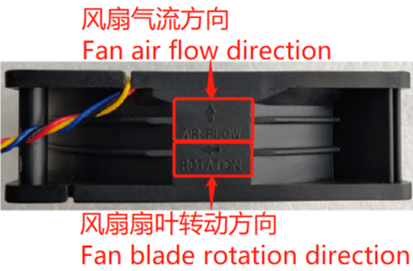
2.1 Put the new fans into the correct position, then install. You can take the above tutorial for reference. Remember to confirm the airflow direction when installing, and make sure the same side with the same airflow direction. TIP: the arrow should point to the side where there are indicator lights.
Installing the fan in the wrong direction may lead to the miner shutting down at high temperatures, and even causing irreversible damage!
.