

goldshellminer > User guides > Tutorial on Replacing Hash Board of a Professional Miner
Tutorial on Replacing Hash Board of a Professional Miner
Note:
1. Disassembling the miner without permission from the after-sales staff will void your warranty (check my warranty). Check Goldshell after-sales terms to learn more.
2. Ensure that the installation is done correctly before restarting the miner.
3. Incorrect installation may void your warranty.
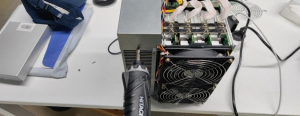
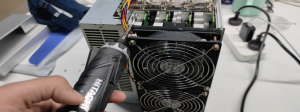
1. Remove the hash board from the miner.
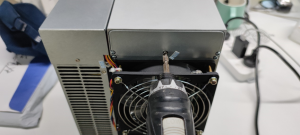
1.1 Remove the screws located above the fans at the back of the miner.

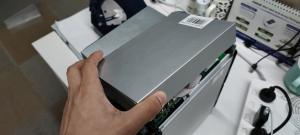
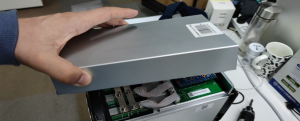
1.2 Remove the top case.
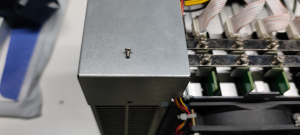
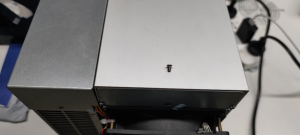
1.3 Remove the screws at the back of the power supply.
1.4 Remove the cover of the power supply. You may need to pull a little back then lift it.
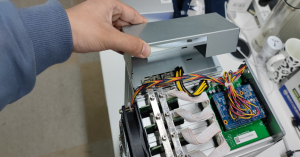
1.5 Remove the screws at the back of the miner.

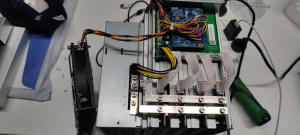
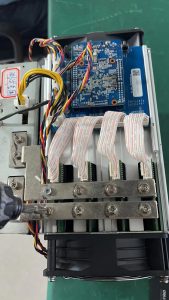
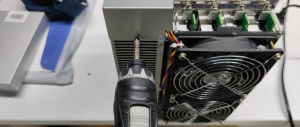
1.6 Unplug the ribbon cable(s).
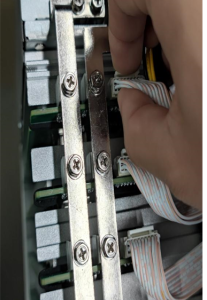
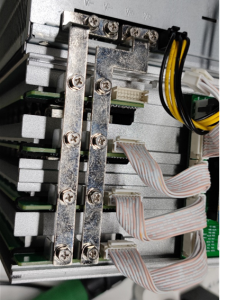
1.7 Remove screws on the metal bar.

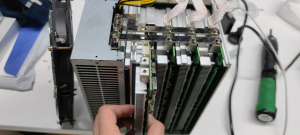
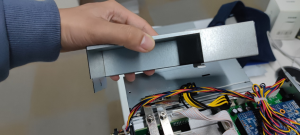
1.8 Take out the hash board.
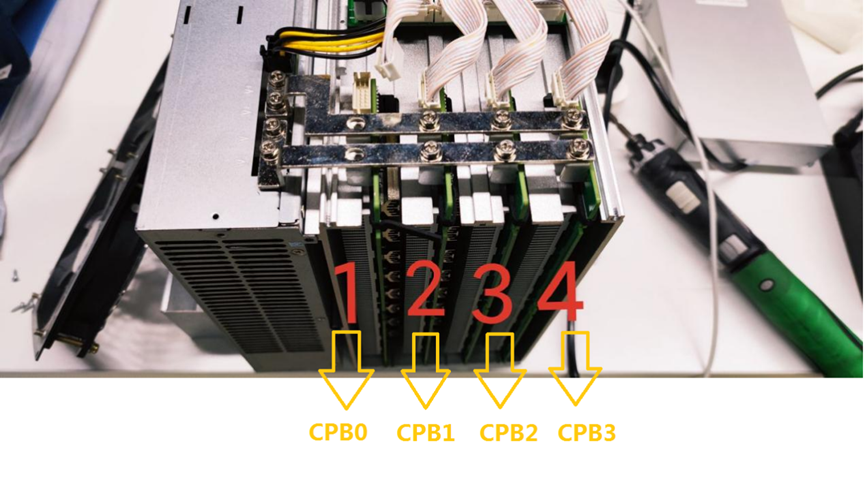
After-sales staff refer to "Hashboard #1, Hashboard #2, Hashboard #3, Hashboard #4" or "Hashboard 1, Hashboard 2, Hashboard 3, Hashboard 4" as shown in the below figure by numbers 1, 2, 3, and 4. The position of the hash board on the miner dashboard is illustrated below:
2. Install the hash board.
2.1 Put the hash board in the correct position.

2.2 Tighten the screws on the metal bar.
2.3 Plug the ribbon cable(s).

2.4 Tighten the screws at the back for the miner.

2.5 Cover the power supply. You may need to move it a little forward to fix it.
2.6 Tighten screws at the back of the power supply.
2.7 Carefully install the top board of the miner.
2.8 Tighten screws at the back of the miner. And then the installation is complete!
.