

goldshellminer > User guides > Yotta BC & Goldshell mini asic miners software
Yotta BC & Goldshell mini asic miners software
Yotta BC is a mining monitoring and management software designed by the Goldshell development team. It can help our customers to control Goldshell and other brand miners efficiently.
Download
Yotta BC User Manual
Software Page Introduction
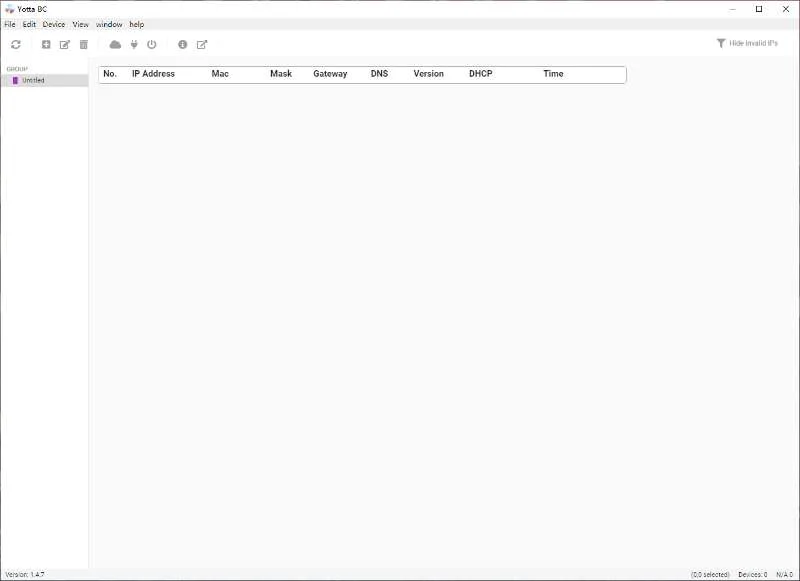
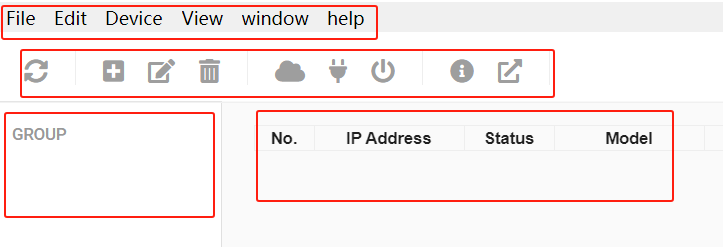
The software page comprises a menu, shortcuts, a miner group, and miner information parts.
Definition of Miner Groups
To facilitate efficient miner management, users have the option to establish miner groups based on IP ranges. This grouping streamlines the monitoring of miner operational status and facilitates batch configuration. There are three methods to create groups, allowing users to choose according to their preferences.
1. The first method is to click on “File” to create a new group.
2. The second method is to click on the “Create new group” button in the shortcuts toolbar.
3. The third method is to use the shortcut “Ctrl+N”.
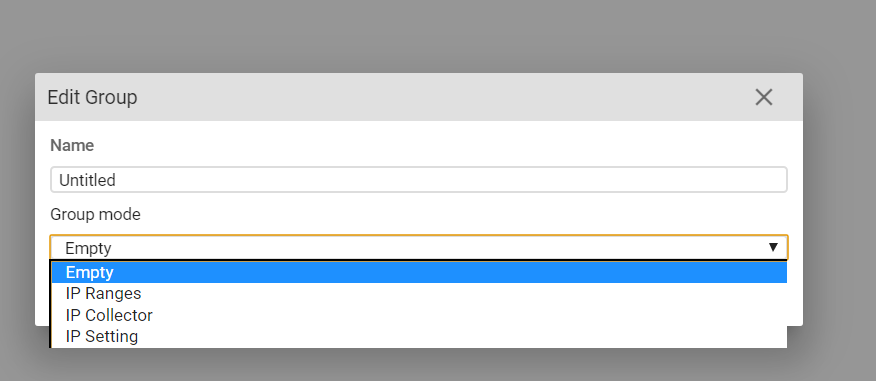
While using Yotta BC, other functionalities are also executed similarly to creating groups. Multiple operational approaches may exist, but this user manual will focus on explaining only one method to avoid redundancy. When in the process of creating a new group, four group modes are available for configuration. Please note that while configuring groups and utilizing other Yotta BC functionalities, ensure that your computer and the operated miners are within the same local area network (LAN).
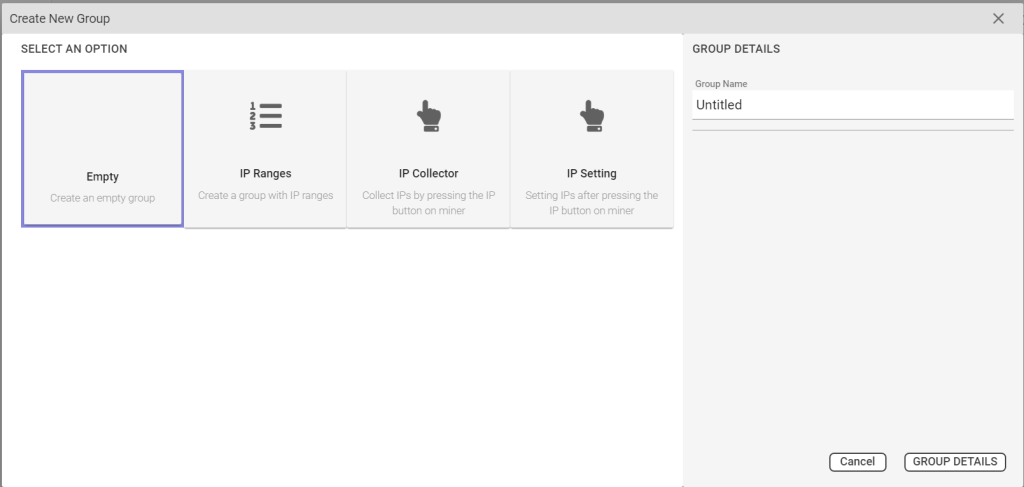
Empty Group: After you set the Group Name, click [GROUP DETAILS] to create an empty group. When you need to utilize this group, you can right-click within the group field and proceed to edit.
Tips: An empty group can be edited to become any of the other three group modes.
IP Range Group: To create an IP range group, set a group name, start IP, and range (number of IPs), then click on GROUP DETAILS. If you need to include different IP ranges within this group or modify the already set IP ranges, you can use the “-” or “+” buttons under the range field for these operations. After creating this group, clicking on it in the miner group field will display the miner information page. By placing miners with the same IP range or miners from the same shelf into an IP range group, you can easily identify the miners within this IP range by using shortcut keys to scan the devices. This facilitates batch monitoring and configuration of these miners for users.
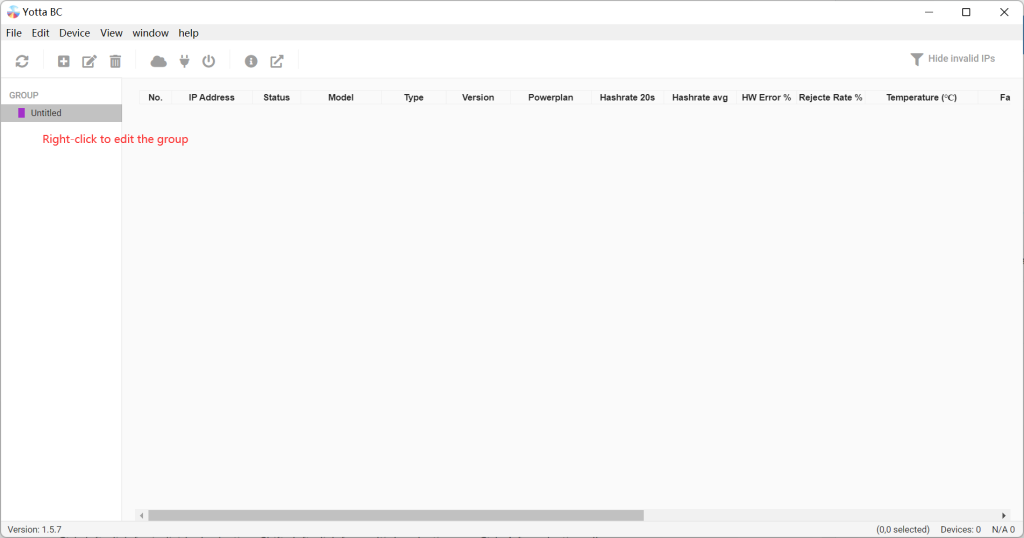
Tips: Once an IP group is established and devices are scanned, the miner information page will display all miner information within that IP range. Left-clicking on a device number will mark it with a green indicator, signifying that the device is selected. Similar to Windows system operations, users can use Ctrl+left-click for individual selections, Shift+left-click for multiple selections, or Ctrl+A for selecting all devices. Once multiple devices are selected, batch operations such as pool configuration, IP setting, power scheme adjustment (miner power mode), and device reboot can be performed. Within the miner information interface, for user convenience, clicking devices in the software’s upper-right corner allows for hiding invalid IPS and offline miners. A green indicator in front of a device number on the miner information page denotes that the miner has been selected.

IP Collector: On a certain group page, for devices with unknown IPs, manually press the IP button on the controller once. This will display the network settings and firmware version of this miner on the page.

Tips: If the mining field needs to assign fixed IPs to miners based on shelf positions, this interface can be used for batch operations. For example, manually press the IP button on miners in sequence, then select all these devices and proceed with IP settings. Please ensure that the actual devices match the intended IPs for setting. If any miner’s IP isn’t collected due to network or equipment issues during the IP button pressing process, bulk IP setting may lead to misalignment between the assigned IPs and the actual miners. If network or equipment issues occur after IP collection, the exception will only affect the malfunctioning miners unable to have IPs assigned. Yotta BC will alert about miners with abnormal settings.
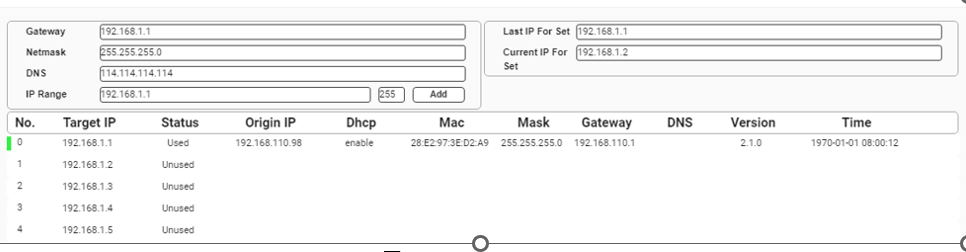
IP Setting: IP Setting provides an alternative method for bulk IP setting for miners within the group, different from the IP Collection method. Firstly, configure the desired target IPs and network information, including gateway, netmask, DNS, IP range, and quantity. Within the IP range, set the starting IP for the target IPs, and the quantity is the number of IPs for this batch setting. After configuring this information, click “Add,” which will display the target IP range on the page. All IPs in the list will be marked as “Unused.” On this page, click the IP buttons of the miners that need to be set, and the IPs from the list will be sequentially assigned to the corresponding miners from top to bottom. Successfully assigned IPs will change status to “Used,” and the original IP information of the miner will be displayed on this interface.
Note: After using the IP setting function, please promptly close Yotta BC or switch to other group interfaces. Otherwise, any action of pressing the miner’s IP button will affect the miner’s IP.
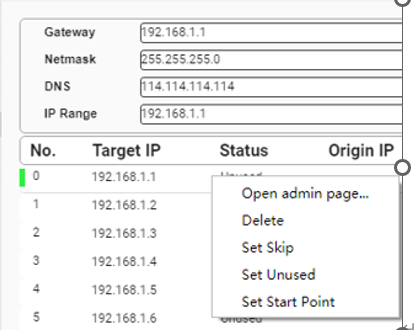
Tips: During the IP setting process, if anomalies or special needs arise, you can use the right-click menu to modify the status of the target IP. For example, if you accidentally press a miner’s IP button twice, changing the IP twice, you can select those two already used IPs and right-click to set them to an unused state. This allows those IPs to be reset, after which you can proceed to set the IP by pressing the miner’s IP button again. If the target miner’s IP doesn’t need continuous setting, or if a certain IP needs to be skipped or removed due to hardware or network issues with a particular miner, you can use the delete and set to skip status options. If the currently needed IP is not the currently displayed setting IP in the table, you can also use the right-click option to set a specific IP as the initial valid IP.
Group Settings Archive and Retrieval: After configuring the mining field group settings, you can save the group settings document according to your usage needs. Click “File” then “Save As” to name the document and save it to the specified location. You can use “File” then “Open” to select and open the saved group settings document.
Setting IP: For devices detected during scanning or IP identification within the IP group, you can individually or collectively set IPs. After selecting a miner, open the IP control interface by clicking on “Device” and then “IP Management”

For setting a miner’s IP, first disable the DHCP configuration in the interface. This will reveal the IP setting section. After configuring the IP and other network information, click “Apply” to complete the setup.
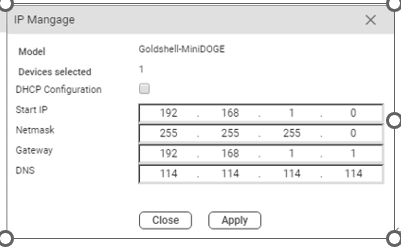
Tips: When setting IPs for multiple miners, after defining the starting IP, the miners will be configured in a batch manner from top to bottom, with the last digit of the IP increasing by 1 for each subsequent miner. If multiple miners are not continuously selected in the interface (using Ctrl+left-click), the selected miners’ IPs will also be incremented by 1.
Note: For miners with already set IPs that need to be taken offline or require IP reconfiguration due to a change in location, it’s necessary to revert the IP control to DHCP while the network connection is still functional before taking the miners offline or relocating them. This ensures that the miners can connect to the network after being put back online or relocated. Miners with IPs not reverted to DHCP and put back online or relocated might not be able to obtain an IP or connect to the network. In such cases, DHCP configuration can only be restored by long-pressing the miner’s physical reset button.
Set Pools:
For devices detected during scanning or IP identification within the IP group, you can individually or collectively configure mining pools. After selecting a miner, open the configuration interface by clicking on “Device” and then “Set Pools”. The page allows for configuring up to three mining pools.

Tips: When the IP suffix functionality for miners is activated, the miner names for different IPs will be automatically configured. For example, if the preferred mining pool’s miner name is “shminer,” and the miner’s IP is 192.168.1.1, then after configuration, the miner’s name will change to “shminer.192_168_1_1.” If differentiation information needs to be added to the miner’s name, for instance, if the same IP range exists in different LANs, additional miner name descriptors can be added based on the LAN. For instance, if the pool sub-account is “shminer” and the miner’s configuration is “shminer.a1,” the miner’s name for the miner with IP 192.168.1.1 will eventually become “shminer.a1_192_168_1_1.” However, please note that a maximum of one “.” can be set within the miner’s name field on the aforementioned page. Having more than one dot will render the miner’s name unrecognizable by the mining pool.
Other Settings and Features:
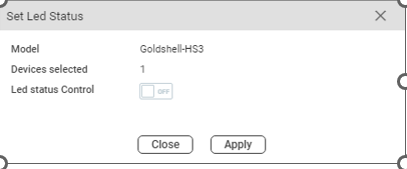
Set Led Status: On this page, you can set the selected miners’ indicators to flash red and green/blue simultaneously. This function aids in locating miners in use.
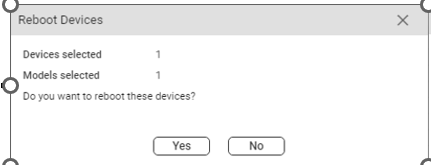
Reboot Devices: On this page, you can perform a restart on the selected miners.
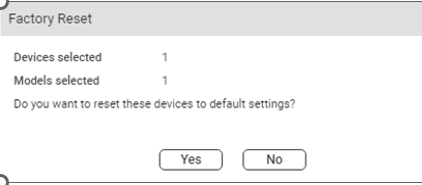
Factory Reset: This page allows you to reset the user configuration of the selected miners. Once set, the miner’s IP will change to DHCP mode, and all mining pool information will be cleared. This factory reset function works similarly to long-pressing the miner’s control panel Reset button.
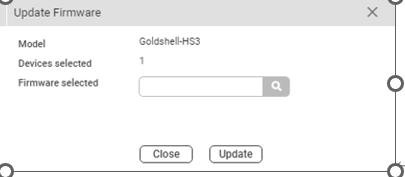
Update Firmware: After selecting a file, you can update the firmware version of the chosen miners. Please note that different firmware versions might have varying miner performance configurations. This setting may require assistance from Goldshell’s after-sales service personnel.
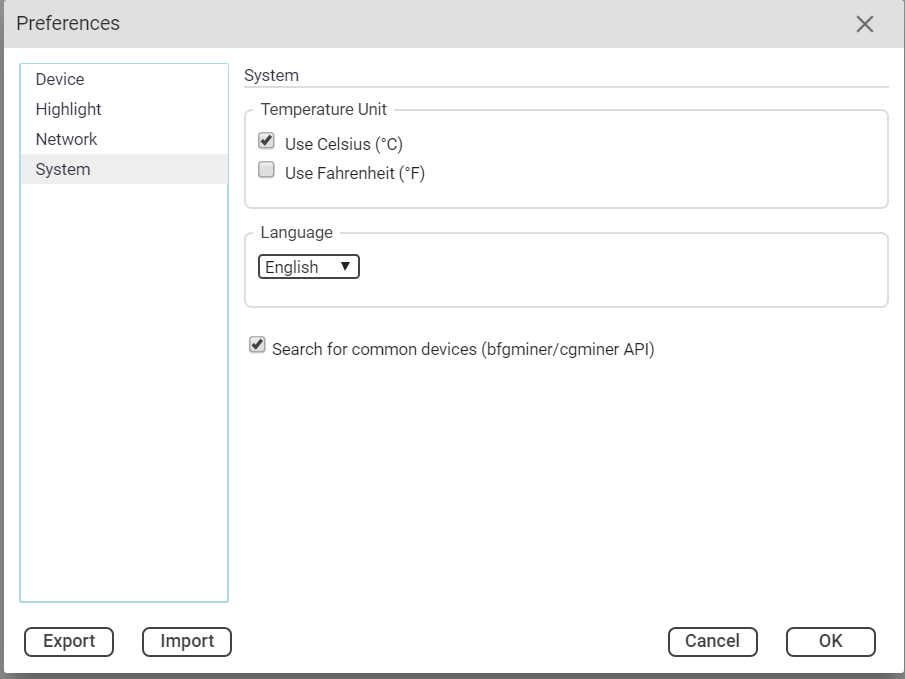
Yotta BC setting: Configure software system and parameters. It is recommended to keep the default settings on this page. If you need to use a different language, you can make a selection within the System/Language box.
Open admin page: Right-click on a miner, and within the right-click menu, you can access the back-end control webpage to monitor or configure the device’s operational status. When selecting multiple devices, you can open various back-end webpages simultaneously.

Goldshellminer-gui
Goldshellminer-gui is a customized PC miner software to support HS1, HS1-PLUS, and LB1. It has a user-friendly design interface.
Only support Windows
If you need Linux&Macos support, please try to use the famous open-source HNS miner Handyminer. (NOT support LB1)
https://github.com/HandyMiner/HandyMiner-Goldshell-GUI
https://github.com/HandyMiner/HandyMiner-Goldshell-CLI
.
.